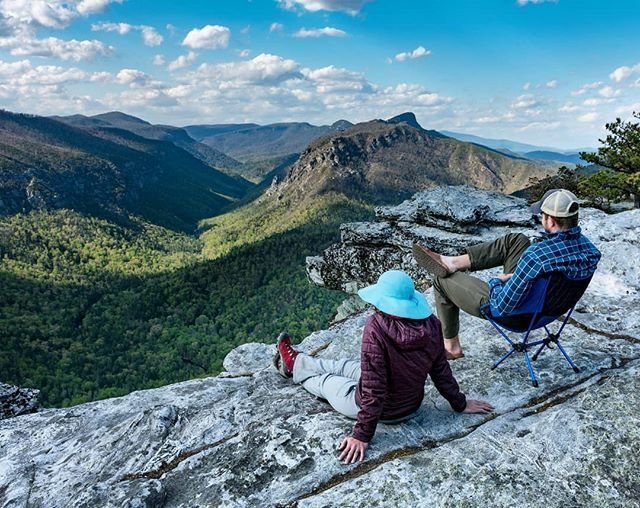
You can easily walk the Grand Canyon's trails. You can walk most of the trails without difficulty. Mileposts provide a detailed overview and history of the Grand Canyon. Many trails are paved and easy to follow. The descriptions also give highlights of each trail. Visit the official website for a quick overview of each trail. Check out our Grand Canyon trail descriptions and maps for more information.
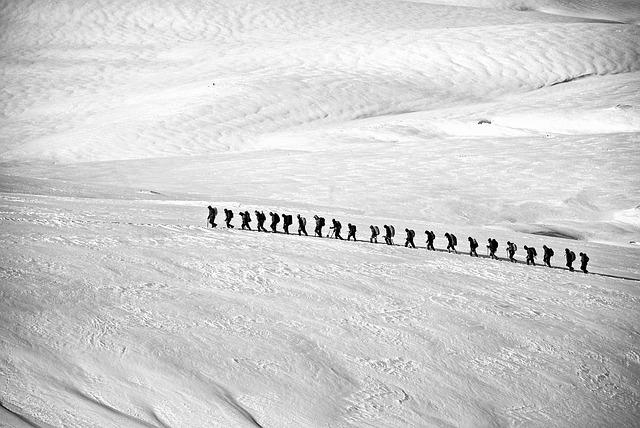
The North Kaibab Trail, a loop of 28 miles that starts at the North Kaibab Trail Parking Lot, is located. This trail winds down the rim from Point Imperial and ends at the North Kaibab Trail parking lot. You can also enjoy the Grand Canyon's natural beauty by biking or hiking on the Uncle Jim Hiking and Bike trails. If you have limited time, you might need to spend a few days hiking the canyon. However, you can do shorter day hikes to save some time.
There are two main trails that lead into the Grand Canyon. The South Kaibab trail leads to the canyon's interior. The Bright Angel, which is further inside the canyon's walls, is a longer, steeper trail that has switchbacks. It's not difficult to hike in the Grand Canyon, but it's important to keep in mind that this gorge can be dangerous. Before taking on a long hike, check the weather forecast.
The Intermediate Day Hike, which is approximately a half-day long, is for active guests. The hiking tour travels with a guide to an introductory viewpoint before heading deep into the canyon for a fully narrated day on the trail. While you enjoy the rugged terrain and the knowledge of the guides, they will also share their knowledge. You can also choose the South Rim route if you prefer a shorter hike.
The North Kaibab Trail is the most straightforward of all the Grand Canyon hiking trails. It begins by climbing down the Colorado River. The trail then traverses eleven layers old rock. This trail leads you to Grand Canyon's bottom and ends at Colorado River. This trail is very popular with hikers. It offers stunning views and lots of recreation opportunities. This is a great place to visit. You can hike to the Grand Canyon from so many different places.
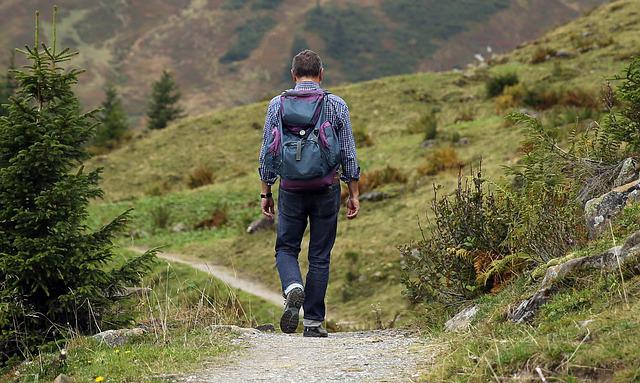
Grandview Trail is well known for its breathtaking scenery. Pete Barry (a famous Grand Canyon miner) built the trail to gain access to Horseshoe Mesa's Copper Mine. This trail is made of hand-cobbled stone and offers a great way to enjoy the Grand Canyon's panoramic views. It's a great choice for a day hike to the Grand Canyon. It is worth it for the breathtaking views.
FAQ
What should I do with my survival gear?
Keep your emergency gear handy so you can quickly access it in an emergency. You can store your supplies in a closet, under your bed, or in the basement.
Label all of your supplies with date and contents. This will help you identify which items you've used.
Also, make sure to keep a copy your inventory somewhere else. In case of an accident to your home or apartment, you will need proof that you have the right stuff.
What should I get first in preparation?
Be sure to have enough water for everyone during your trip. They are very important!
It is important to always have sunscreen lotion on hand. You will need sunscreen lotion, no matter where you are going.
Also, don't forget to pack extra batteries for all your electronics. Last but not less, don't forget a few pairs sunglasses. Before you go, you won't be able to see how much glare it will cause.
Are guns safe to keep?
Yes! Yes. Gun ownership is a protected right under the Second Amendment. It is important to keep in mind that not all people have the right to own firearms. Persons with mental illness, for instance, are forbidden from owning firearms.
However, having a firearm at home can help save lives. According to the CDC there were 33,000 deaths from unintentional shots between 1999-2016.
The good news about concealed weapons is that most states allow citizens to have them. Even if you don't have a gun permit, you can still carry one.
How can I get started in survival planning?
Start with an Emergency Kit. It should contain basic supplies such as food, water or shelter. Add items that will help you feel safe and secure.
You might also consider adding a solar-powered radio, flashlight, compass, whistle, and map. You might also consider fishing equipment if your home is near rivers, lakes, and streams.
Another way to prepare for emergency situations is with a bug-out backpack (BOO). It is a backpack that contains essential gear. Some BOOs are equipped with a tent, sleeping bags or firestarter, a stove, pot, cookware, battery, flashlights and first aid kits.
There are many options for disaster preparation. These are the basic steps to start with and then expand it based on your specific situation.
What do you need to have on hand for the end-of-the world?
It may seem silly, but if you're going to survive the apocalypse, you should know what to buy first!
Here's a list of essential items you should have in your home for when the world ends.
Prepare mentally and physically to face an apocalyptic future.
You need to be ready for any eventuality.
Make sure you have enough water and food to last for a while.
Think about the other essentials like matches, lighters and batteries.
Make sure you have enough money to last until the end.
Who knows how many years we'll live?
Statistics
- A survey commissioned by National Geographic found that forty percent of Americans believed that stocking up on supplies or building a bomb shelter was a wiser investment than a 401(k). (newyorker.com)
- A gravel bike was the clear winner, receiving more than 90 percent of the votes. Background: This summer, we surveyed our readers about what they’d shove into a backpack if they were caught unprepared for the collapse of society. (inverse.com)
- In the first ten months of 2016, foreigners bought nearly fourteen hundred square miles of land in New Zealand, more than quadruple what they bought in the same period the previous year, according to the government. (newyorker.com)
External Links
How To
How to preserve food in a survival situation
To preserve food in an emergency situation, drying is the best option. Drying foods makes them last for longer and removes moisture. It also helps to reduce the growth of bacteria.
Because dried fruits don't require much preparation, they are great for snacking in an emergency. They are portable and can be taken with you wherever you go.
It is possible to dry fruit at-home using a drying rack, but a solar oven would be more practical. You can dry any kind of food in a solar oven.
Food preservation is best done by making sure it is airtight. This stops oxygen entering the food and spoiling it. If you seal the container tightly enough, there won't be any need to add preservatives.
If you do decide to add preservatives, try adding salt first. Salt prevents mold growth. Next, you should add vinegar. Vinegar kills bacteria and inhibits mold growth.
First, cut the food into small pieces. You can either use scissors or a knife. It is important to pack everything tightly so that air doesn't get in the container.
Next, place the food inside a plastic bag. Then seal the bag and place it somewhere warm to dry completely.
Once the food is dry, you can store it in a sealed container. Make sure that nothing touches the food.